I still see recruiting agencies and companies using a personal Facebook profile to promote their business. And if you are one among them you need to do something about it, or you run a risk of losing your profile as stated clearly by Facebook –
Maintaining a personal account for anything other than an individual person is a violation of Facebook’s Statement of Rights and Responsibilities. If you don’t convert your noncompliant account to a Page, you risk permanently losing access to the account and all of its content.
In this post i will take you through the steps you need to perform to convert your personal Facebook profile to a page, So lets get started –
Step 1 – Back up your profile data
When you convert your profile to a business page only your profile photo and friends(converted to likes) will be moved to your new page, No other data is moved to your page. So if you need any information on your new page from your existing account, you should first download your profile data which include posts, photos, bios and anything associated with the account. Full list here.
You can download your information from the Account Settings page.
- Click accounts menu at the top right of any Facebook page and select Account Settings
- Click General in the left-hand column
- Click on “Download a copy of your Facebook data”
- Click Start My Archive
Step 2 – Change your profile name & address to reflect your business page
The business page which will be created after migration will have the same name as your profile name. Also if you have more than 200 friends, you will not be able to change the name of your page after the conversion. Make sure your profile name reflects your business page name before going to the next step.
If you already have an active business page you probably would want to merge these pages. In this case, you need to provide same name and address as your active page or you might not be able to merge them.
To change your name
- Click accounts menu in the upper-right corner of any Facebook page and select Account Settings
- Click General in the left-hand column
- Look for the Name setting and click Edit to the far right
- Type in your name and save your changes
To change your address
- Click on the Update Info button under your cover photo on your timeline.
- To edit the info in these sections, click the Edit link that appears in the top-right corner.
- Enter in your new info, and save your changes.
Step 3 – Convert your personal profile to a business page
You might as well be managing other pages/groups from your existing profile. If you are the only admin for these pages, do not forget to assign new admins before you proceed with the migration. Remember you are about to delete your profile and migrate to a business page.
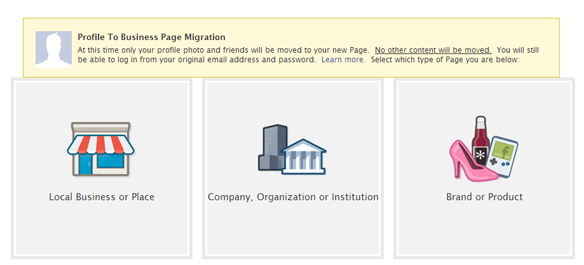
To convert your profile to a page go here. Below is how the next steps look like –

Choose a category most appropriate for your business and proceed to next step

Provide your password to confirm migration, Make sure to download your data

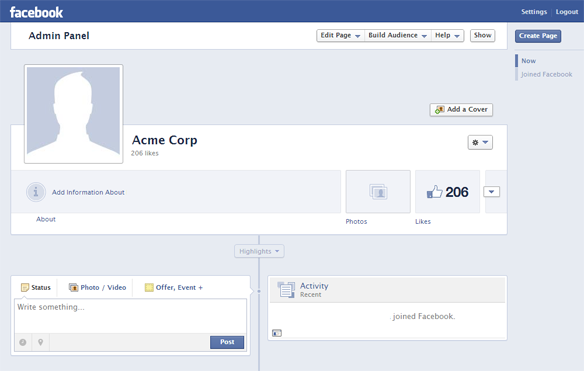
Your fan page is created with your friends converted to likes
Step 4 – Merge Duplicate Pages
If you have duplicate pages for your business you should merge them. In order to merge duplicate pages, they need to have the same name and address. Merging Pages combines all your likes and check-ins, but all other content from the Page with fewer likes, such as wall posts, photos and its username, will be permanently deleted.
Content on the Page with more likes will remain unchanged, except for the addition of likes and check-ins added from the Page with fewer likes. Facebook removes the Page with fewer likes and you will not be able to unmerge it.
Here is how to merge pages –
- Go to the Page with more likes. This will be the one you’ll keep.
- From the top of your Page, click Edit Page
- Select Update Info
- From the left sidebar, select Resources.
- Click the Merge duplicate Pages link. This link will only appear if you manage two Pages with similar names.
- A dialogue will show Pages you manage that qualify to be merged. Select the Page(s) you wish to merge. If you’re merging Pages with a location, they must have the same address information.
Don’t promote your business on Facebook with an individual profile, convert it to a business page using the steps mentioned above. If you know someone who will be helped by this information, do not forget to share this article with them!
Credit source via [Blog.hirerabbit.com ]


No comments:
Post a Comment